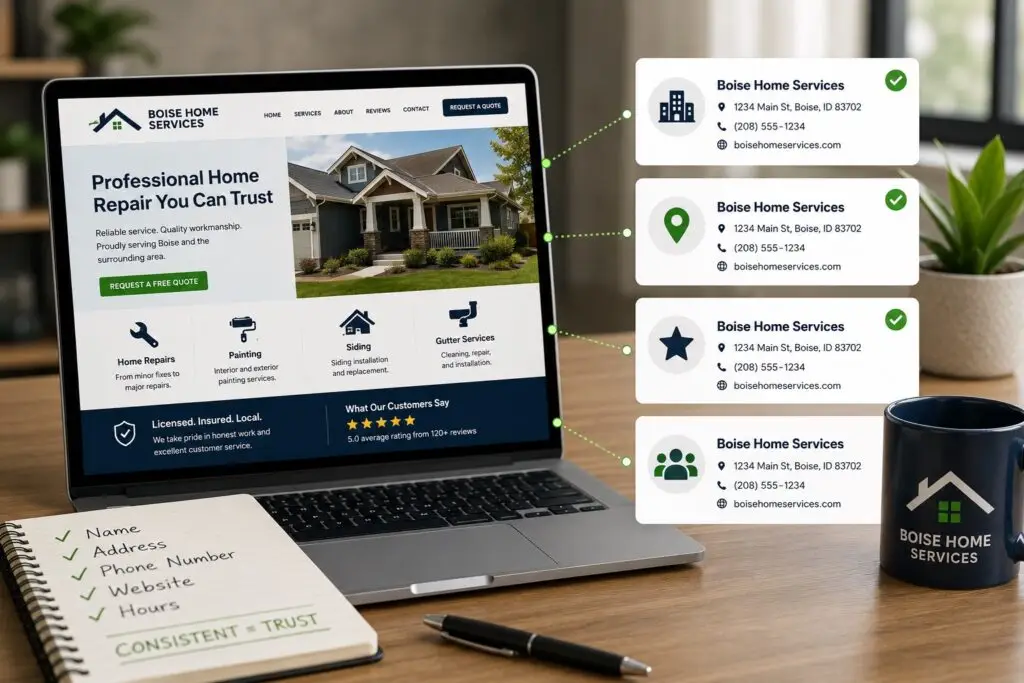
Visuals are often the first thing prospective customers notice. For trades and home services, high-quality photos of completed work, team members, and equipment build trust and show competence. A consistent, searchable photo library helps you publish images quickly, keep branding consistent, and improve image SEO so local customers can find you online.
Plan Before You Shoot
Start with goals. Ask what types of images you need: project before-and-after, service in action, team portraits, equipment, shop or vehicle shots, and product detail. Decide how you will use the images: hero banners, thumbnails, social posts, or portfolio galleries. Planning reduces duplicate shots and makes your library more useful.
Capture Guidelines
- Use natural light where possible and avoid harsh shadows.
- Shoot both wide-angle context photos and close-up detail shots.
- Keep composition consistent: similar angles, backgrounds, and color tones help brand cohesion.
- Include people using services where appropriate to show scale and outcomes.
- Record project location and client notes separately to match images to jobs.
File Naming and Folder Structure
Consistent file names and folders make search and batch processing simple. Use a clear pattern like:
YYYYMMDD_projectname_location_shottype_version.jpg
Example: 20260428_kitchen_remodel_boise_before_v1.jpg
Image Formats and Optimization
Choose the right file format for use. JPEG is good for photos, PNG for transparency, and WebP for modern browsers with better compression. Keep master files (RAW or high-quality JPEG) in your Raw folder and create optimized web versions in the Web folder.
Optimization tips:
- Resize images to the maximum display width you need before uploading.
- Compress images to reduce file size while preserving quality. Aim for 100-300 KB for most hero and gallery images depending on resolution.
- Use responsive images (srcset) or WordPress automatic sizes to serve appropriate sizes to devices.
Image SEO: Alt Text, Titles, and Metadata
Optimize each image for search and accessibility. Add descriptive alt text that explains what is in the photo and includes a natural reference to the service or location when relevant. Example: “Finished kitchen remodel with white cabinets in Boise, Idaho.”
Fill in the image title and caption fields where useful, and embed keywords organically in metadata. Use tags or keywords in your photo management system to make assets discoverable by topic, location, client, and project stage.
Tagging, Cataloging, and Digital Asset Management
For small teams, a simple folder and filename system with consistent tags works well. As your library grows, consider a Digital Asset Management (DAM) or cloud solution like Google Drive, Dropbox, or a WordPress media management plugin that supports metadata and tagging. Key fields to track:
- Project name and date
- Location or service area
- Model or client release status
- Usage rights and license
- Image photographer and editor
Legal and Usage Considerations
Always get written permission when photographing private properties or people. Keep signed model or client release forms stored with the project files. Track the source of stock images and the license terms to avoid copyright issues.
Workflow and Version Control
Create a repeatable workflow so team members know how to add images:
- Import raw images to Raw folder and back up immediately.
- Edit and export web-optimized versions to the Web folder.
- Name files, add alt text and metadata, and tag appropriately.
- Upload to your CMS and note the published location in your catalog.
Use versioning by appending v1, v2 to filenames so old edits are preserved and restorations are simple.
Using the Library in WordPress
WordPress has a built-in media library that works well for many small businesses. For better organization, use folders or media library plugins that allow categories and tags. Ensure you upload the optimized web versions to WordPress and add alt text and captions during upload. Where possible, preload critical images and enable lazy loading for galleries to preserve page speed.
Maintenance and Backups
Schedule regular maintenance: remove duplicates, update tags, and move completed projects to an archive folder. Back up both raw masters and web-ready files to an offsite location or cloud storage to avoid data loss.
Quick Checklist
- Define image goals and shot list.
- Establish naming conventions and folder structure.
- Capture consistent, high-quality photos.
- Create web-optimized versions in appropriate formats.
- Add descriptive alt text and metadata.
- Track usage rights and model releases.
- Back up originals and maintain version control.
Conclusion
A structured photo library is an investment that saves time, strengthens your brand, and improves search visibility for local customers. With clear naming, optimization, and a reliable workflow, even small teams can build a powerful visual system that supports marketing, sales, and operations.
Need help setting up a photo library or optimizing images for your website? Contact Boise WEB for affordable web design, local SEO, and media organization tailored to small trades and home-service businesses. We make it easy to look professional online.