The addition of WooCommerce on your WordPress allows you to jumpstart your ability to sell whatever products you want to sell. However, like anything on the internet (or in life in general), WooCommerce is not without problems and malfunctions. Sometimes, the function will have an issue or two, including issues with shipping.
So, what do you do when WooCommerce isn’t charging for shipping? You need to make sure that you have configured your shipping areas and assigned the correct weight and dimensions to your product or products, along with clarifying its shipping class and zone.
We’ll take an in depth look into what exactly the process of configuring your shipping areas and assigning the weight and dimensions entails.
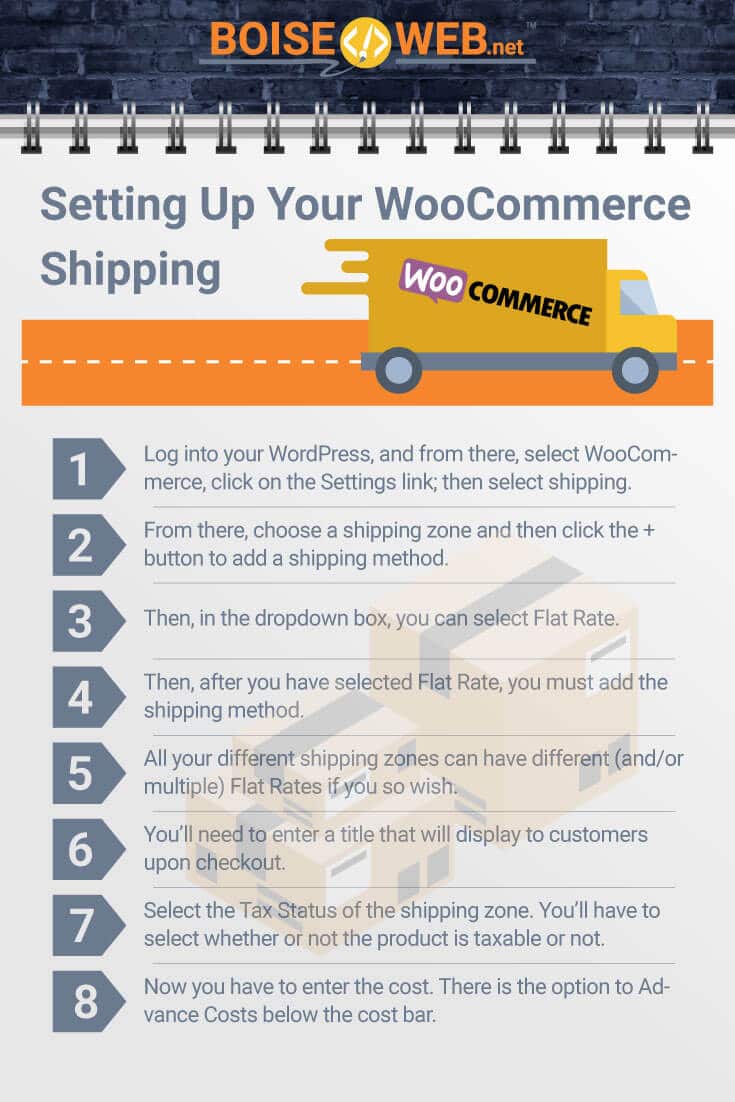
Setting Up Your WooCommerce Shipping
First, let’s take a look at the ins and outs of flat rate shipping:
Flat Rate Shipping
WooCommerce allows you to select Flat Rate Shipping, which is a free shipping method that allows you to decide a specific rate per item, per shipping class, or per order.
To use the Flat Rate Shipping, you need to add this method to a shipping zone (meaning an area where you can send a specific product).
Let’s get started:
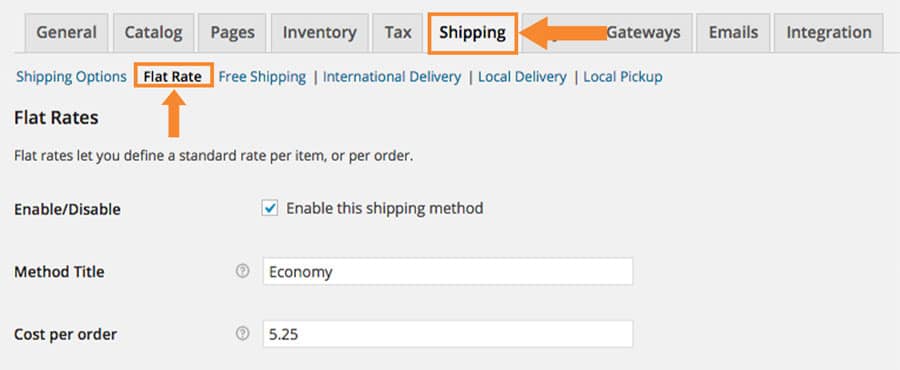
- Log into your WordPress, and from there, select WooCommerce, click on the Settings link, and then select shipping.
- From there, choose a shipping zone and then click the + button (which signifies you want to add something) to add a shipping method.
- Then, in the dropdown box, you can select Flat Rate.
- Then, after you have selected Flat Rate, you must add the shipping method (indicated with a box labeled Add Shipping Method).
- You have different options rows for shipping, so select Flat Rate for the row you wish to define. All your different shipping zones can have different (and/or multiple) Flat Rates if you so wish. Doing this will take you to a different screen.
- You’ll need to enter a title that will display to customers upon checkout.
- Then, you need to select the Tax Status of the shipping zone. You’ll have to select whether or not the product is taxable or not.
- Now you have to enter the cost. For this, you’ll have to add in any additional costs per item. There is the option to Advance Costs below the cost bar. You can leave this option blank in order to Flat Rate except for any place that costs are added for Shipping Classes. Whatever you enter here can factor into the overall cost may factor into the overall Sipping Classes—unless you choose to leave it blank.
(Source: WooCommerce Docs)
Free Shipping and Flat Rates

WooCommerce allows you to make certain products have free shipping while others have flat rates, let’s look into it:
The best way for you to go about delineating the different products you’d like to offer free shipping for and flat rates for is to define Shipping Classes.
To set up Shipping Classes, you’ll need to make three shipping classes: Free Shipping, Regular Shipping, and Expedited Shipping.
You’ll have to delineate all the products into their respective shipping classes.
Why Isn’t It Charging For Shipping Though?
It could be that you haven’t correctly added in the shipping costs. For that reason, you need to go back and ensure that you have entered in a shipping amount.
You may have even selected free shipping erroneously at some point.
You’ll also need to make sure that you’ve selected the correct shipping areas: have you made your shipping the state of New York, the United States, Canada, Europe, etc.
Then, make sure that you add the size, weight, and dimensions of your product so that the shipping costs will equate properly.
How Do I Set Up Shipping By Weight?
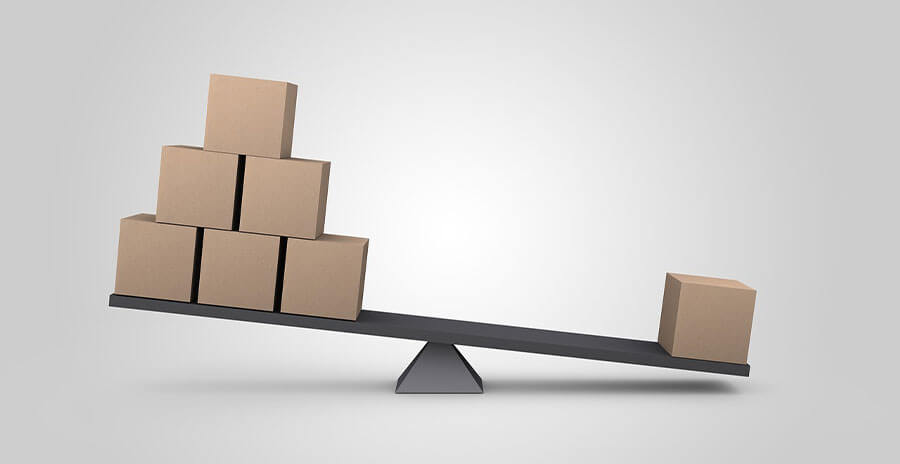
To ensure that everything is charging correctly when you are shipping different items and products, you’ll want to make sure that you include their weight and dimensions so that differently weighted products are not charged the same amount.
Distance is not the only factor when regarding shipping costs, weight and size are also significant factors in the equation which calculates final shipping value. Lighter and smaller products will be less expensive to ship than heavier and larger products.
This is a simple fact when it comes to sending mail and shipping items. Therefore, to assure that you are not losing money or paying too much to ship certain items and running a deficit, you’ll want to have products of similar weights and sizes shipped together.
In WooCommerce, you can opt into “Shipping Classes,” which is a great, easy way to divide your products into different weight categories.
When a customer then checks out, with differently weighted items, each item’s Shipping Class will be different, and the shipping costs will be charged accordingly.
Delineate Your Products into WooCommerce’s Shipping Classes
You’ll want to make different groupings for products with similar weights. For example, perhaps you’ll want to group products that weigh less than a pound together, then a pound to five pounds, and then five pounds to ten, then anything above ten pounds.
When you are in the WordPress dashboard, go to WooCommerce, then Settings, to Shipping, and then Shipping Classes.
Once you have followed those instructions, add a shipping class, and add any details you want included for this class. Add as many shipping classes as you see fit.
From there, solely ensure that you assign correctly weighted products to their appropriate shipping classes, you don’t want an eight-pound product shipped as though it weighed less than a pound.
Shipping classes on WooCommerce do not only delineate weights, they can also differentiate the type of shipping service you would like to provide for the product.
You Decide the Rates

For this, you’ll want to figure out through your carrier the rate that you’ll be charged for shipping costs. You can go to your specific carrier’s (FedEx, UPS, USPS, etc.) website to find that information.
Now, you’ll have to figure out how much each product weighs or the weight range for a specfic product group.
You can select the shipping classification you’d like. For example, USPS has Priority Mail and First-Class Package Service. Each of these offers different perks, such as the former is better for heavier packages whilst the latter is better for heftier packages.
Then, you need to determine the zones to which you’ll be delivering. If you are based out of Atlanta, shipping to Seattle is a much farther zone to ship to than Cleveland, Ohio. Therefore, as distance factors into shipping at any rate, so higher zones will cost more for shipping.
Shipping Zones
From here, you’ll need to decide your zones and how far out you’re willing to ship. Obviously, farther addresses come with added expenses.
To identify your zones, you’ll need to pinpoint your origin address (meaning the place from which your products will be shipped). If you were to use USPS, you can use this Zone Chart to determine your zoning.
Then group your zip codes by zone.
Finally, to figure out the crux of your issue, you need to go through your shipping methods and find out what has caused the lack of charging for WooCommerce. If you find that you haven’t accordingly entered in weights, do that.
If you find that you are shipping vastly differently weighted items in the same Shipping Class, fix that so that you won’t lose money when selling your own items.