Learn the basics of website creation with guides on setting up WordPress, building a website from scratch with Elementor, and optimizing your site so it’s ready to be published.
-
Install and Set Up WordPress
-
Download the Necessary WordPress Tools
-
Start Building Your Site Using Elementor
-
Optimize and Publish Your Site
Before we get ahead of ourselves, there’s a few things you’re going to need before following the rest of this guide.
The first thing you’re going to need is a domain name and a web host. Most web hosts can sell you domain names directly in combination with your hosting package. However, you can also buy a domain name independently and then enter it into the web host that you want to use.
There is a nearly endless supply of different web hosts. While any of them will do, we recommend doing some research to figure out which option is going to be the best fit for you.
Step 1: How to Install and Set Up WordPress
WordPress is well known for it’s easy set up. In fact, many web hosts now offer tools to automatically install WordPress for you. If this is the case with the web host you chose, feel free to gloss over this section of the guide and move onto the next step.
Before you proceed with the installation it’s important to note the differences between WordPress.com and WordPress.org. The two are often used interchangeably, but they are in fact very different.
WordPress.org is where you will go to download WordPress. It is also where you will find the free version of WordPress. It’s important to note that while using the free version of WordPress you will have to host your website through a third-party hosting service.
How to Install WordPress Through Your Hosting Service
Most hosting services allow you to download WordPress directly through them. While some hosting services may vary, this can typically be achieved by going into My Accounts and clicking on the WordPress icon.
Next, simply follow the steps to complete the installation process. You will need to enter a username and password that you will use to log in to your site in addition to some other information. Then, click on Finish Installation.
Now your website has WordPress! After the installation is finished simply log in to WordPress using the username and password you set up and you’ll be able to access your website’s WordPress dashboard.
How to Install and Set Up WordPress Manually
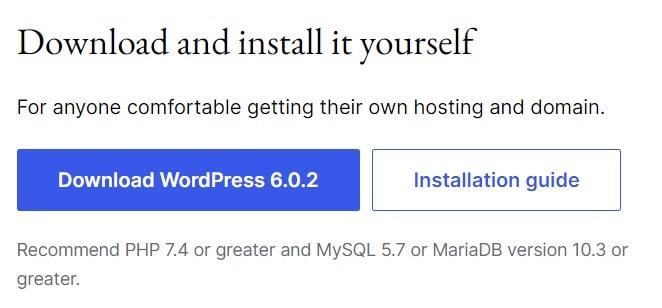
If your web host doesn’t offer this service, not to worry. Simply go to the download page on wordpress.org and click on the button titled Download WordPress.
Once you have downloaded and unzipped the WordPress file package, you’ll need to create a database for WordPress on your web server. In addition to the database, you’ll need to set up a MySQL user that has fully access to modify the database.
Then, all you need to do is upload the files to the desired location on your web server. You can run the installation by accessing the URL in a web browser. This should be the URL that you uploaded the WordPress files to.
Step 2: Download the Necessary WordPress Tools
Once you’ve logged in to your WordPress dashboard, you’re going to need to download a few more things.
Within your WordPress dashboard, go to Plugins -> Add New and search for Elementor. Once you’ve selected Elementor click Install. Keep in mind that you will still need to activate any plugin you install before it will be added to your WordPress dashboard.
In addition to installing Elementor, you’re going to need a theme. There are a lot of themes available to use, both free and premium. Spend some time looking around and pick out a theme for your website.
For help on choosing the right WordPress theme, you can view our guide here on How to Choose and Customize Your WordPress Theme.
You’re also going to need some plugins. Which plugins you need will depend greatly on the type of website you’re building, and the kind of features that are important to you.
WordPress comes with a list of recommended plugins. It can be helpful to look through this list and see if any of the plugins would be useful to you. Remember not to install too many plugins that you don’t need, as this will slow down your site.
For more recommendations on some of the most useful WordPress plugins, you can view our guide here on The 25 Most Useful WordPress Plugins for your Website.
Step 3: Start Building Your Site Using Elementor
Adding a New Page
Once you’ve laid the groundwork and installed all the necessary tools, it’s time to start building your website. Before you can build your page with Elementor, you must create the page.
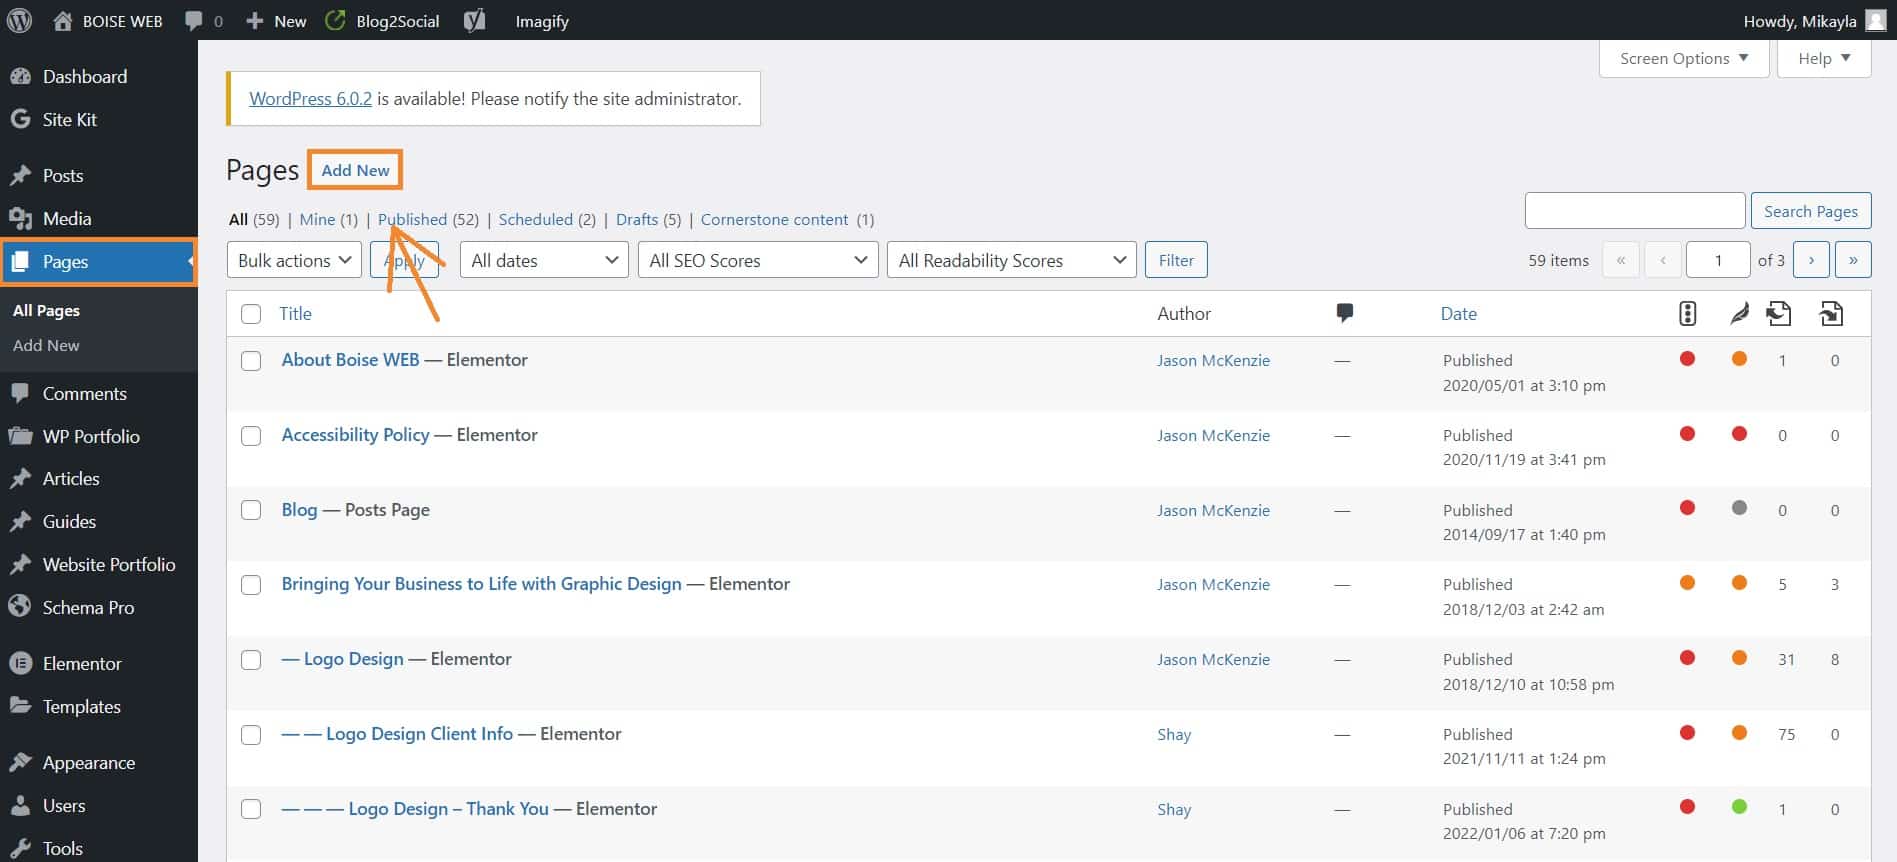
From the WordPress dashboard click on Pages > Add New.
You can also edit an existing page but hovering over the name of the page and then clicking on Edit with Elementor.

This will bring you to a page that looks like this:
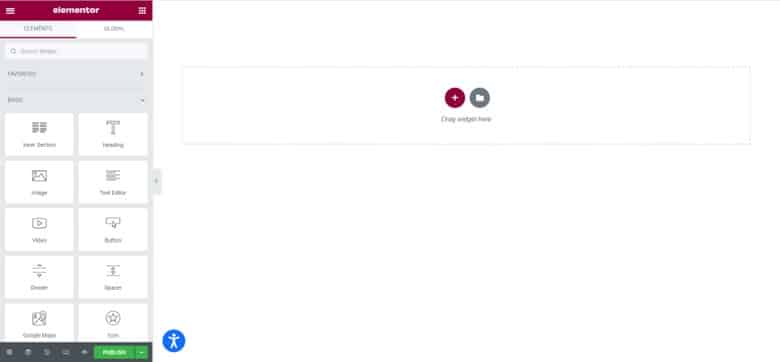
Elementor Building Blocks
Elementor is made up of ‘building blocks’ that allow you to visually build your site from the ground up.
There are three main building blocks that Elementor uses: sections, columns, and widgets. Sections are the largest blocks that house the column blocks, and the column blocks then house the widgets.
To add a section to your site, click on the red + button. This will pull up a column menu where you can select how many columns you want, and the orientation you want them in.

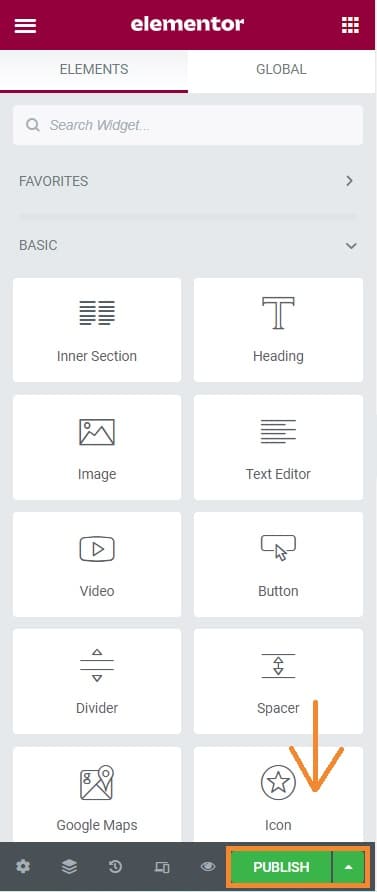
The section and the columns will then appear on the page. To add widgets to the column, simply drag and drop them from the left-hand menu.

There are a lot of widgets already available to you for free, but if you want to go even further you can pay for the premium widgets and customize widgets for your site.
Editing with Elementor
Once your widgets are in place, you’ll need to edit them. To edit a single block or column you can click on it directly, or you can click on the blue handle to edit the entire section.
The editing menu is made up of three sections: layout, style, and advanced. For the purposes of this guide, we’re only going to focus on the layout and style sections.
The layout section allows you to edit things like size, alignment, text content, and column gap. The style section allows you to edit things like typography, color, backgrounds, and borders.
Using the advanced editing options allows you to inject even more personality and customization into your site. However, for your first page it’s best to stick to the basics and learn how everything works before moving on to more advanced settings.
Creating a Home Page
The most important page on your site, and the page that you should build first, is your home page. Your home page is the first thing that people will see when they go to your site. You want to make a good impression.
Most themes come with pre-built templates for home pages that you can tweak to make your own, or you can start from scratch to make something truly unique.
If you want some more tips in building your home page, Elementor has some great guides available to you. You can check out their guide on how to create a homepage here.
Once you’ve created the page, you still have to tell WordPress that it’s your home page. Otherwise, it will get listed the same as any other page. This is how you get your home page to show up as www.yoursite.com, rather than www.yoursite.com/home.
You can learn how to assign a home page here.
Step 4: Publish Your Site
Once you’ve built your first page, it’s time to publish it. To do that, simply click on the green publish button at the bottom of the left hand Elementor menu.
Note: You will need to give your page a name before it can be published to your site.
If you’d like to save your page and come back to it later, you can click on the arrow to the right of the publish button and save the page as a draft. This arrow also allows you to save your pages as templates.
If you’re interested in learning more about templates, we can help with that too! You can look at our guide here on How to Save, Import, and Export Elementor Templates in WordPress.