When it comes to updating product prices on your WordPress website, there is no need to break into a nervous sweat; the process is straightforward and can be completed easily. In this guide, we’ll walk step by step through the process of updating product prices using the CSV import/export method. This method can be a major time saver, especially if you have a large number of product prices to update. Let’s get right to it!
Step 1 – Login to Your Site
The first step is simply to log into the administrative side of the site using your credentials. Once you’ve logged in, it’s time to make the magic happen!
Step 2 – Locate Products Tab
The next step is to find the products button. This button will be found in the left-hand navigation menu and will generally be about seven items down. Once you’ve found it, click on it. Once you’ve clicked the products button, it will take you to a page titled “WooCommerce/products”.
Step 3 – Export
Near the top of the “WooCommerce/Products” page there will be a button that says “Export”. Go ahead and click on that button.

You’ll be asked what fields you wish to export. I recommend that you select the following fields:
- ID (You’ll need this to import later in the process)
- SKU
- Name
- Sale Price
- Regular Price
- Type
- Parent
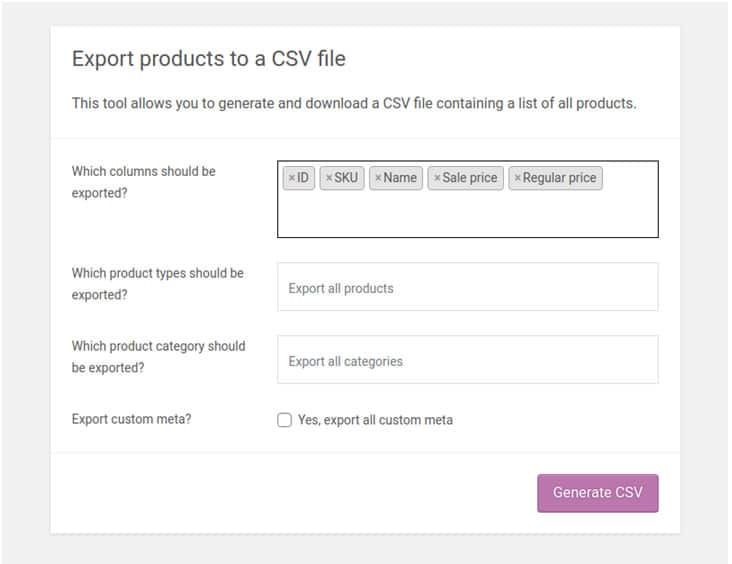
Once you’ve selected your fields, you can skip over the rest of the form and click the “Generate CSV” button. Now you’ll just have to wait while the CSV file is generated. Perhaps now would be a good time to make yourself a sandwich.

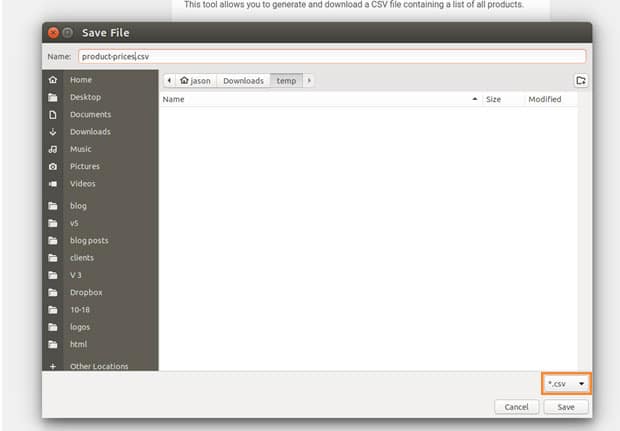
Step 4 – Save the CSV File
Once the CSV file has been generated, you’ll be prompted to save the CSV file. Name the file and save it to your computer. Make sure it is saved as a .CSV file.
Step 5 – Change Your Prices
If the CSV file doesn’t open automatically, select the CSV file you just saved and open it. Once opened, you’ll see columns of information corresponding to the fields we exported earlier. Go ahead and edit the prices in the “Sales Price” column and the “Regular Price” column.
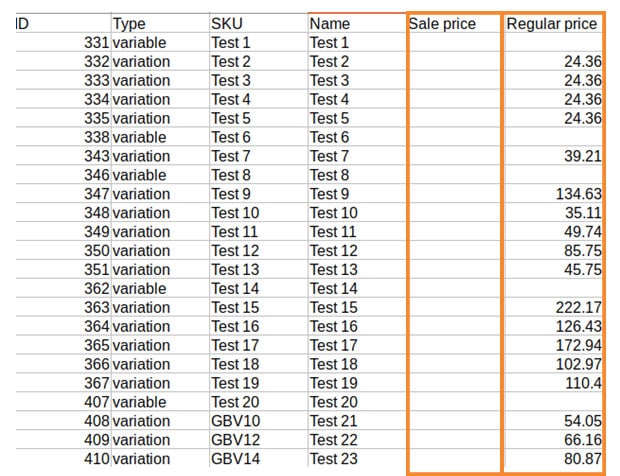
Note: Products with variations will not have prices listed. Only the variations of that product will have prices listed. For example, suppose you are selling a tee shirt that comes in small, medium, and large. The base tee shirt will not have a price listed next to it, only the variations of that tee shirt (small tee, medium tee, and large tee) will have prices listed.
Step 6 – Save the File Again
After you have finished changing the prices, save the CSV file. Make sure that it is still saved as a CSV file.
Step 7 – Import Your File.
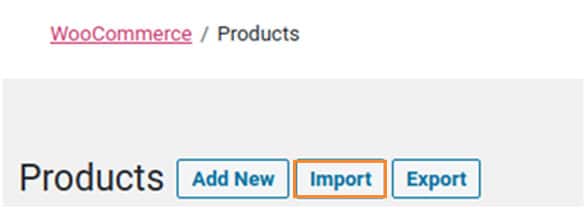
Head back over to the admin side of your site and navigate to the “Products” page. If you don’t remember how to get there just redo steps 1 and 2 of this guide, then return to this point.
Once you are on the “WooCommerce/Products” page, click on the “Import” button. This button is located at the top next to the “Export” button you used earlier.
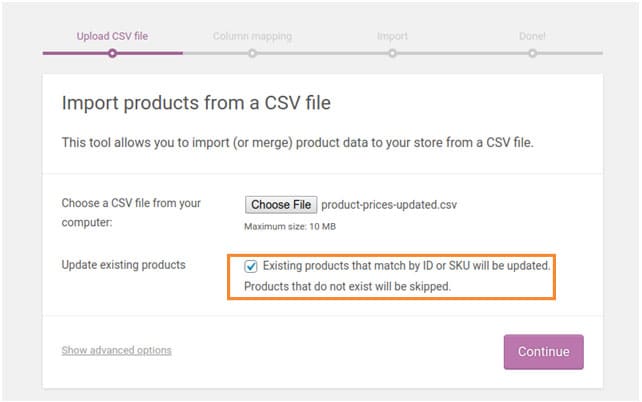
Next, click the button that says, “Choose File” and find and select the CSV file that you saved.
This part is Important! Make sure you check the box that says, “Existing products that match by ID or SKU will be updated.”
When you’ve selected your file and checked the “Update existing products” box, click continue.
Step 8 – Map Your Columns
You are almost done! Map the columns of the CSV to the proper fields in WooCommerce. Only the ID, Sale Price, and Regular Price should be mapped. Everything else should be se to “Do not import”.
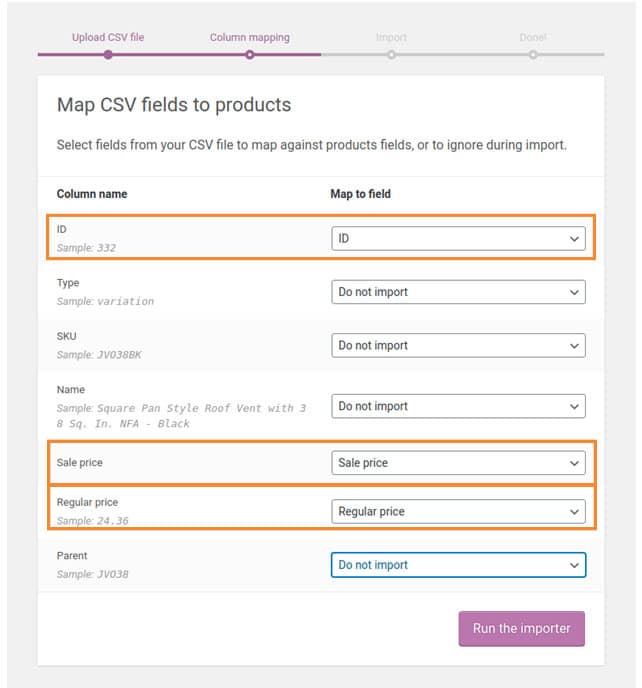
When you are finished mapping the fields, click the “Run the Importer” button. The import process will begin and run on its own.
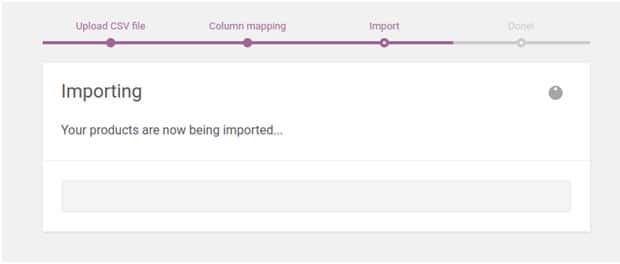
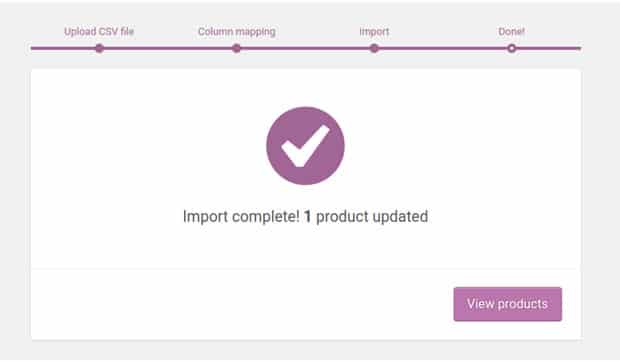
Step 9 – Finish the Import and Check any Issues
When the importer is finished it will show an “Import complete” screen that will show how many products were updated and if there were any issues.