
Source Site for the code: websensepro.com
This code can be used to customize more than just the background and image size.
How to Change Header Color while Scrolling
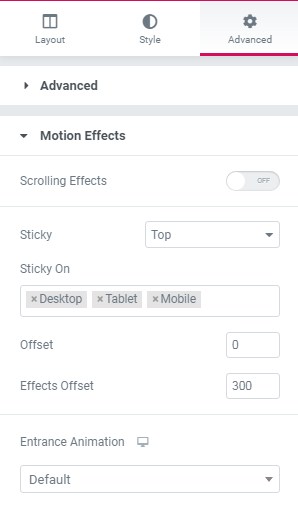
Step 1: Set Effects Offset value to 300 (You can increase/decrease the value as per the preference longer the number, longer you will have to scroll for changing color while scrolling)
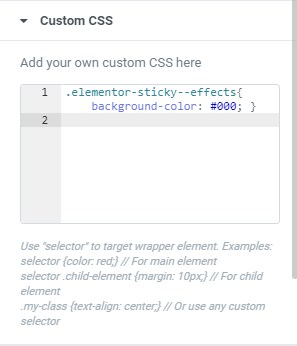
Step 2: for this one we need to get some CSS work done. Go to the Advanced tab and select Custom CSS. Then type in the following code:
.elementor-sticky--effects{ background-color: #000; }
Doing so makes the sticky header change color as you scroll down a page after you hit the 300px mark or what every number you set it to.
Now, the Advanced tab ought to be filled out like so:
Size Changing Header
In the Image Advanced tab for the header, add a CSS class or ID and give it a name, something like this:

Here the class is called “logo.”
Next, you’ll need to add the following lines of code in the header’s Custom CSS in the Advanced tab (instead of “logo” just use whatever name you gave to the class mentioned a moment ago):
This sets the limits for the size changes.
.elementor-sticky--effects .logo img {

width: 50% !important;

}
You can tweak these given values to what suits you. After this, your header should change size according to where you are on a page.
Smooth Header Size Change
This sets the transition rate (this sets the rate to 0.5 seconds, but see which value works best for you).
.elementor-sticky--effects{
background-color: #000 !important;

transition: background-color 0.5s ease !important

}
.elementor-sticky--effects .logo img {

width: 50% !important;
transition: width 0.5s ease !important
}
This removes the snap.
Finally, we’ve created a smooth-looking, transparent header that changes color when not on the top of the page.